🛠️ Scrap PC Rebuild: From Junkyard to TrueNAS Server
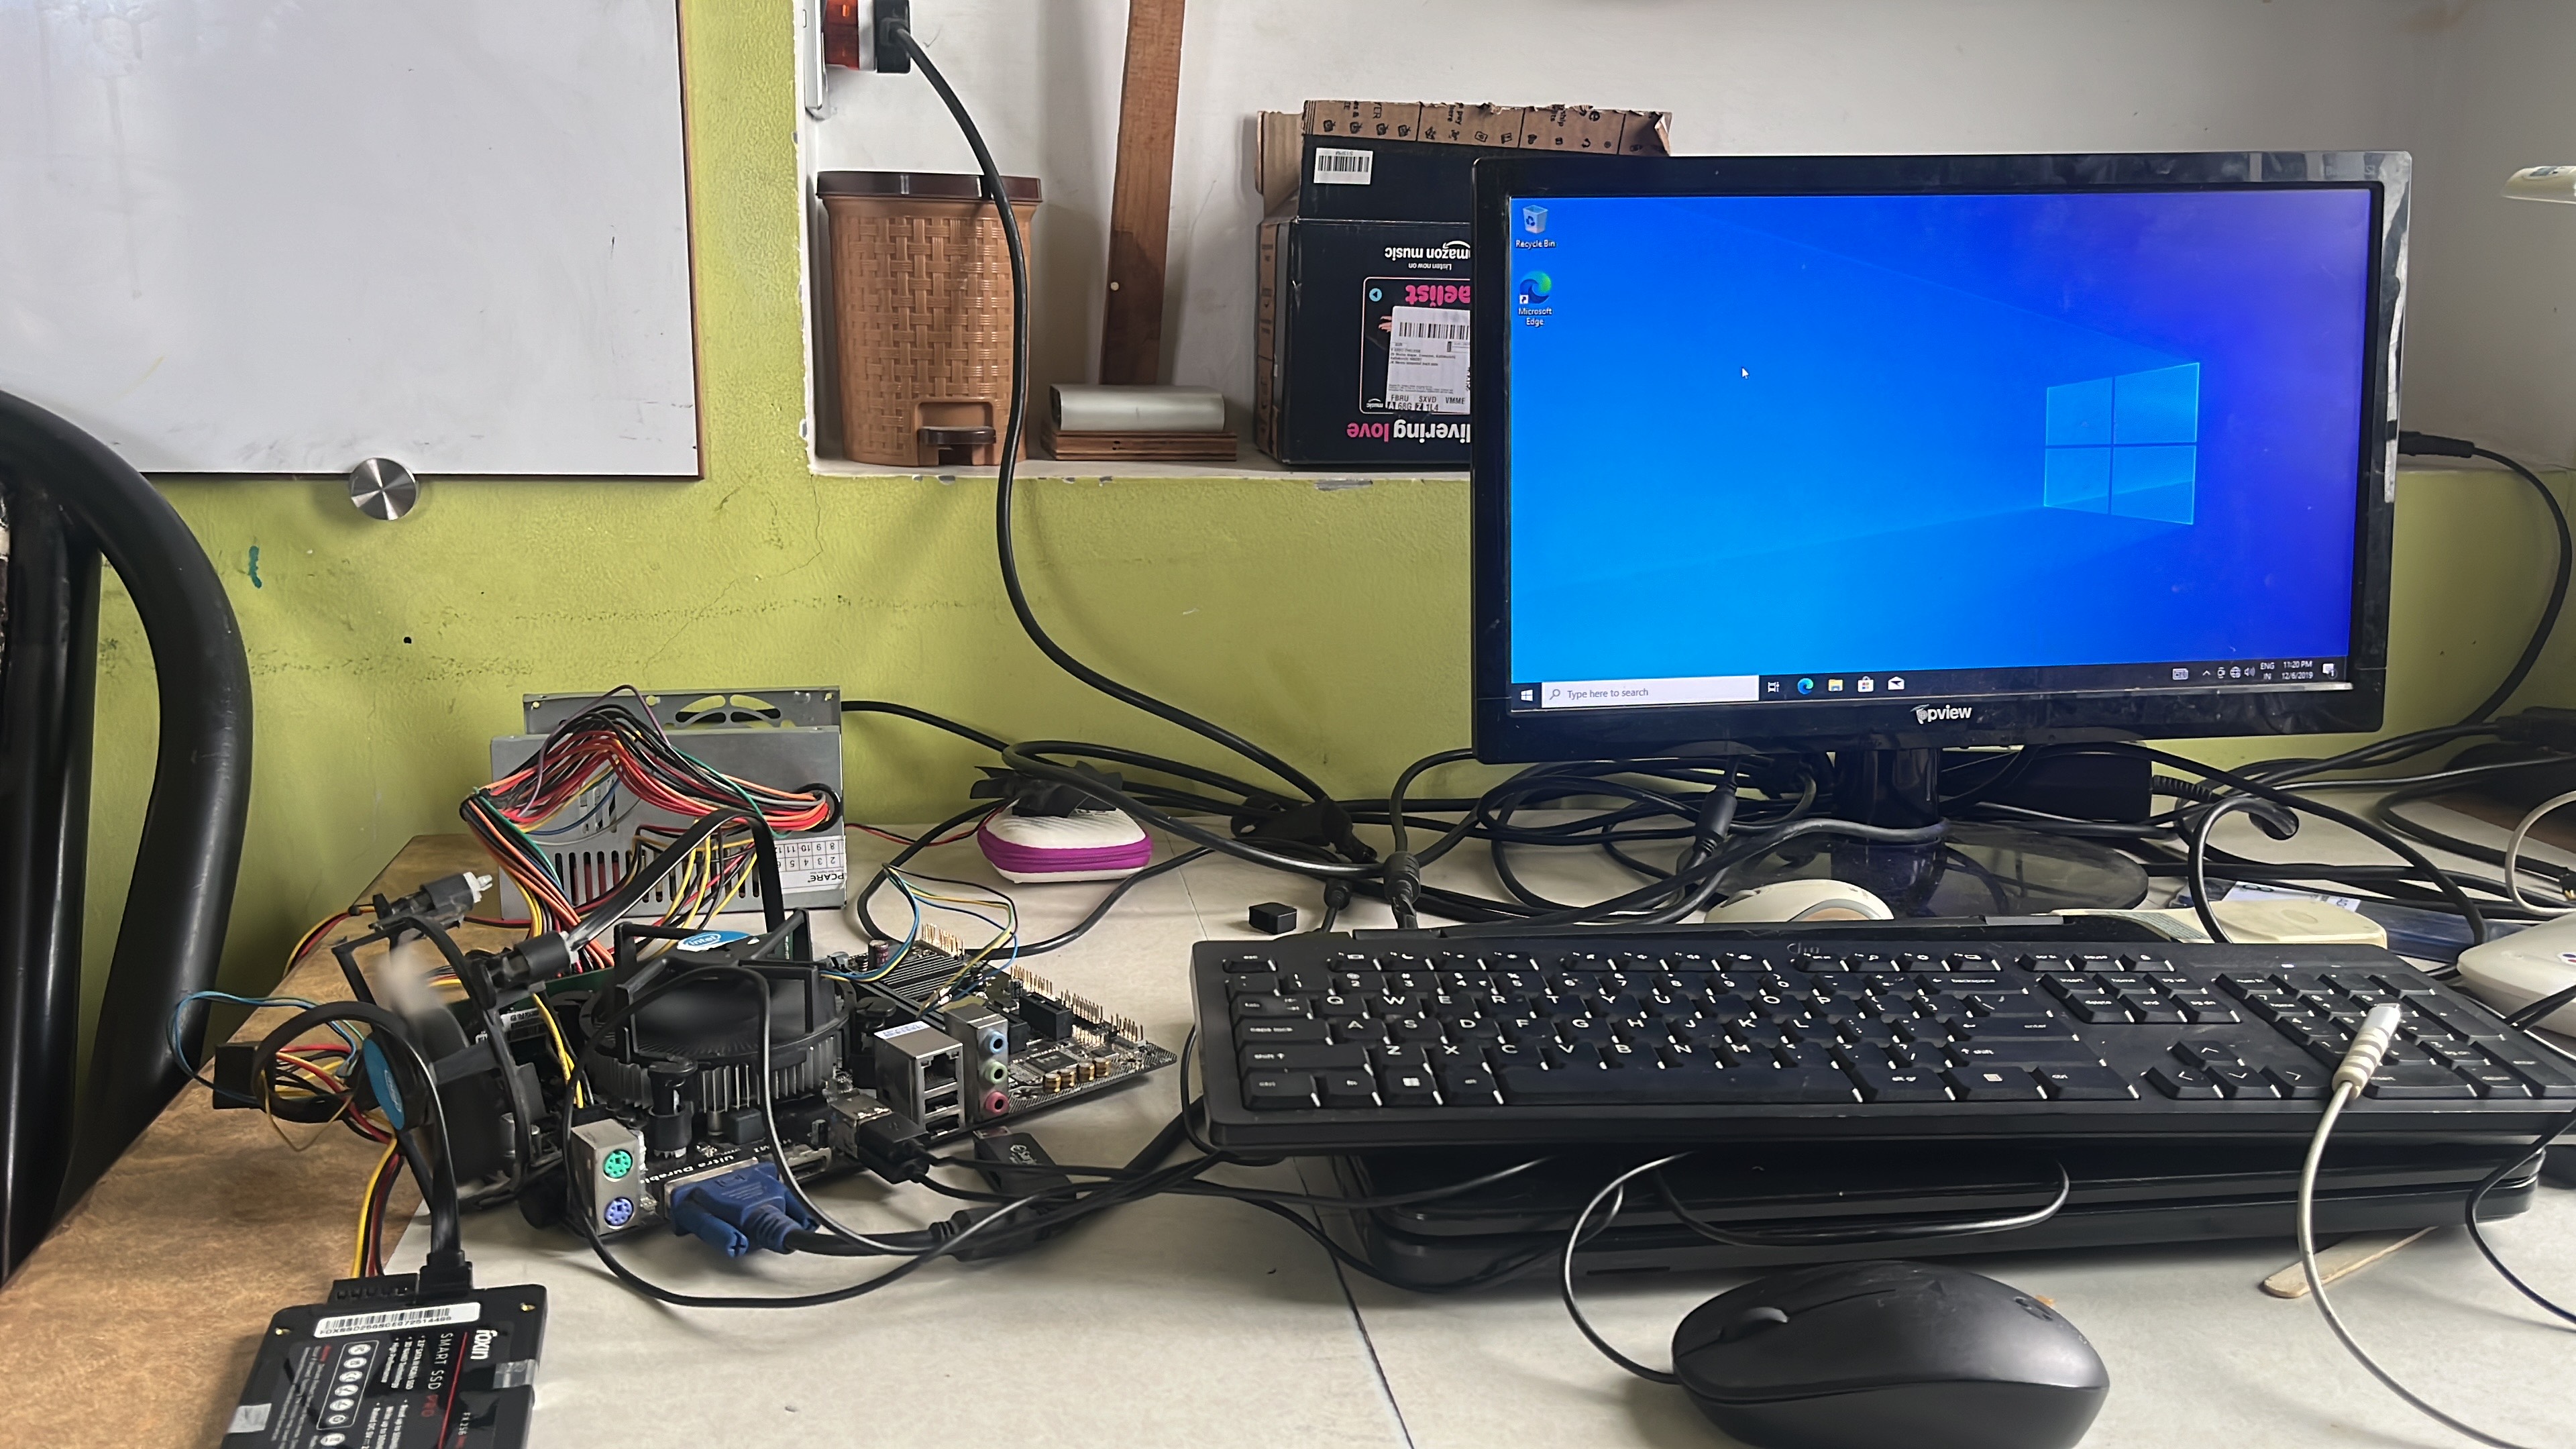
First boot: salvaged board, CPU, RAM and repaired power supply running open on the bench.
A hands-on rebuild of a non-functional PC using e-waste, and turning it into a functioning server.
Built by a first-year CS student, this project documents the step-by-step revival of discarded components — including motherboard, CPU, PSU, RAM, and HDD — and explains the process of recovering lost data, soldering high-voltage parts, flashing BIOS, and setting up a basic home server using Tailscale.
💡 Objective
Can I take a pile of broken, discarded parts — bent pins, blown capacitors, corrupted drives — and turn them into a working system with real-world value?
🔩 Hardware Used (All Recycled or Repaired)
| Component | Status Before Rebuild | Final Use Case |
|---|---|---|
| Gigabyte GA-H110M-H | Bent CPU socket pins | Fixed and bootable |
| Intel Core i3-6098P | Used, untested | Working processor |
| Mercury PSU | Swollen 450V capacitor | Capacitor replaced, stable |
| 500GB HDD | No partitions, unreadable | 200GB data recovered |
| RAM (4GB DDR4) | Salvaged from scrap build | Bootable and stable |
| Cabinet, USB headers | From junkyard | Refitted, rewired |
🧠 Build Process (Step-by-Step)
🔧 Step 1: Motherboard Repair
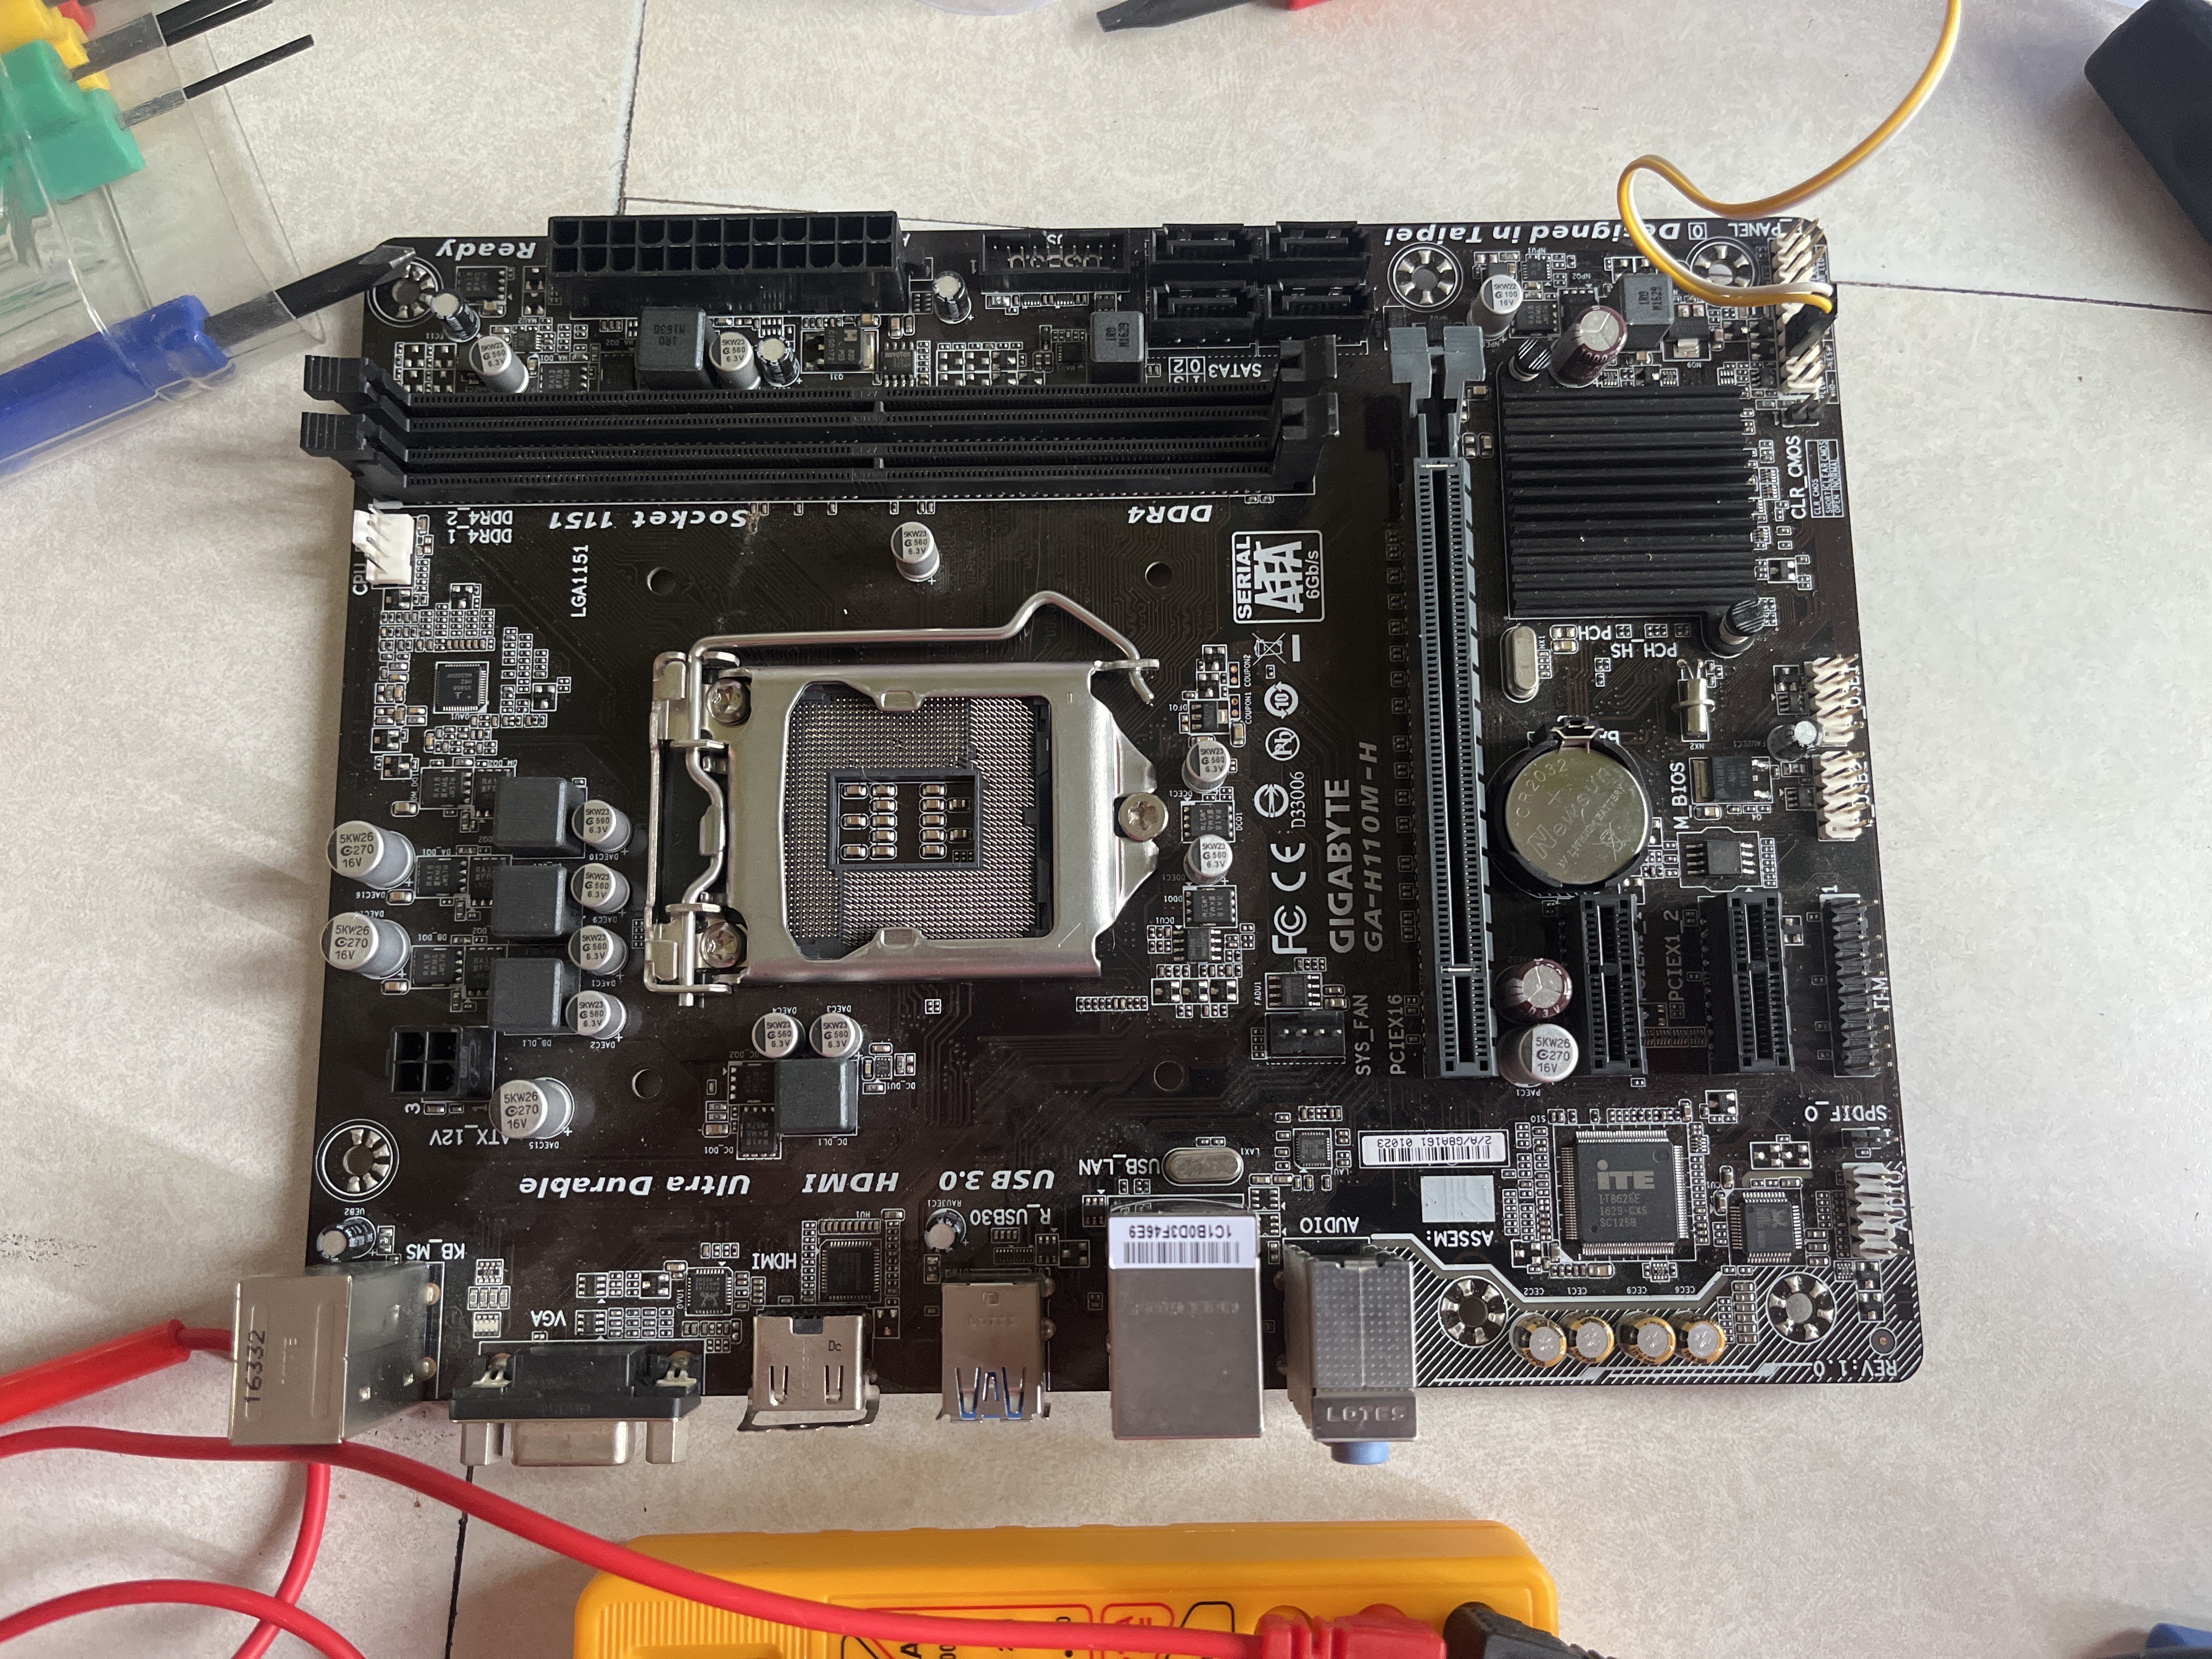
- Realigned >6 bent CPU socket pins using tweezers
- Used multimeter for continuity testing
- Checked for short circuits between lanes
❄️ Step 2: CPU + Cooling
- Cleaned CPU and socket
- Applied thermal paste (Zebronics silver)
- Mounted fan and heatsink from old board
⚡ Step 3: PSU Repair (High Voltage Safety)
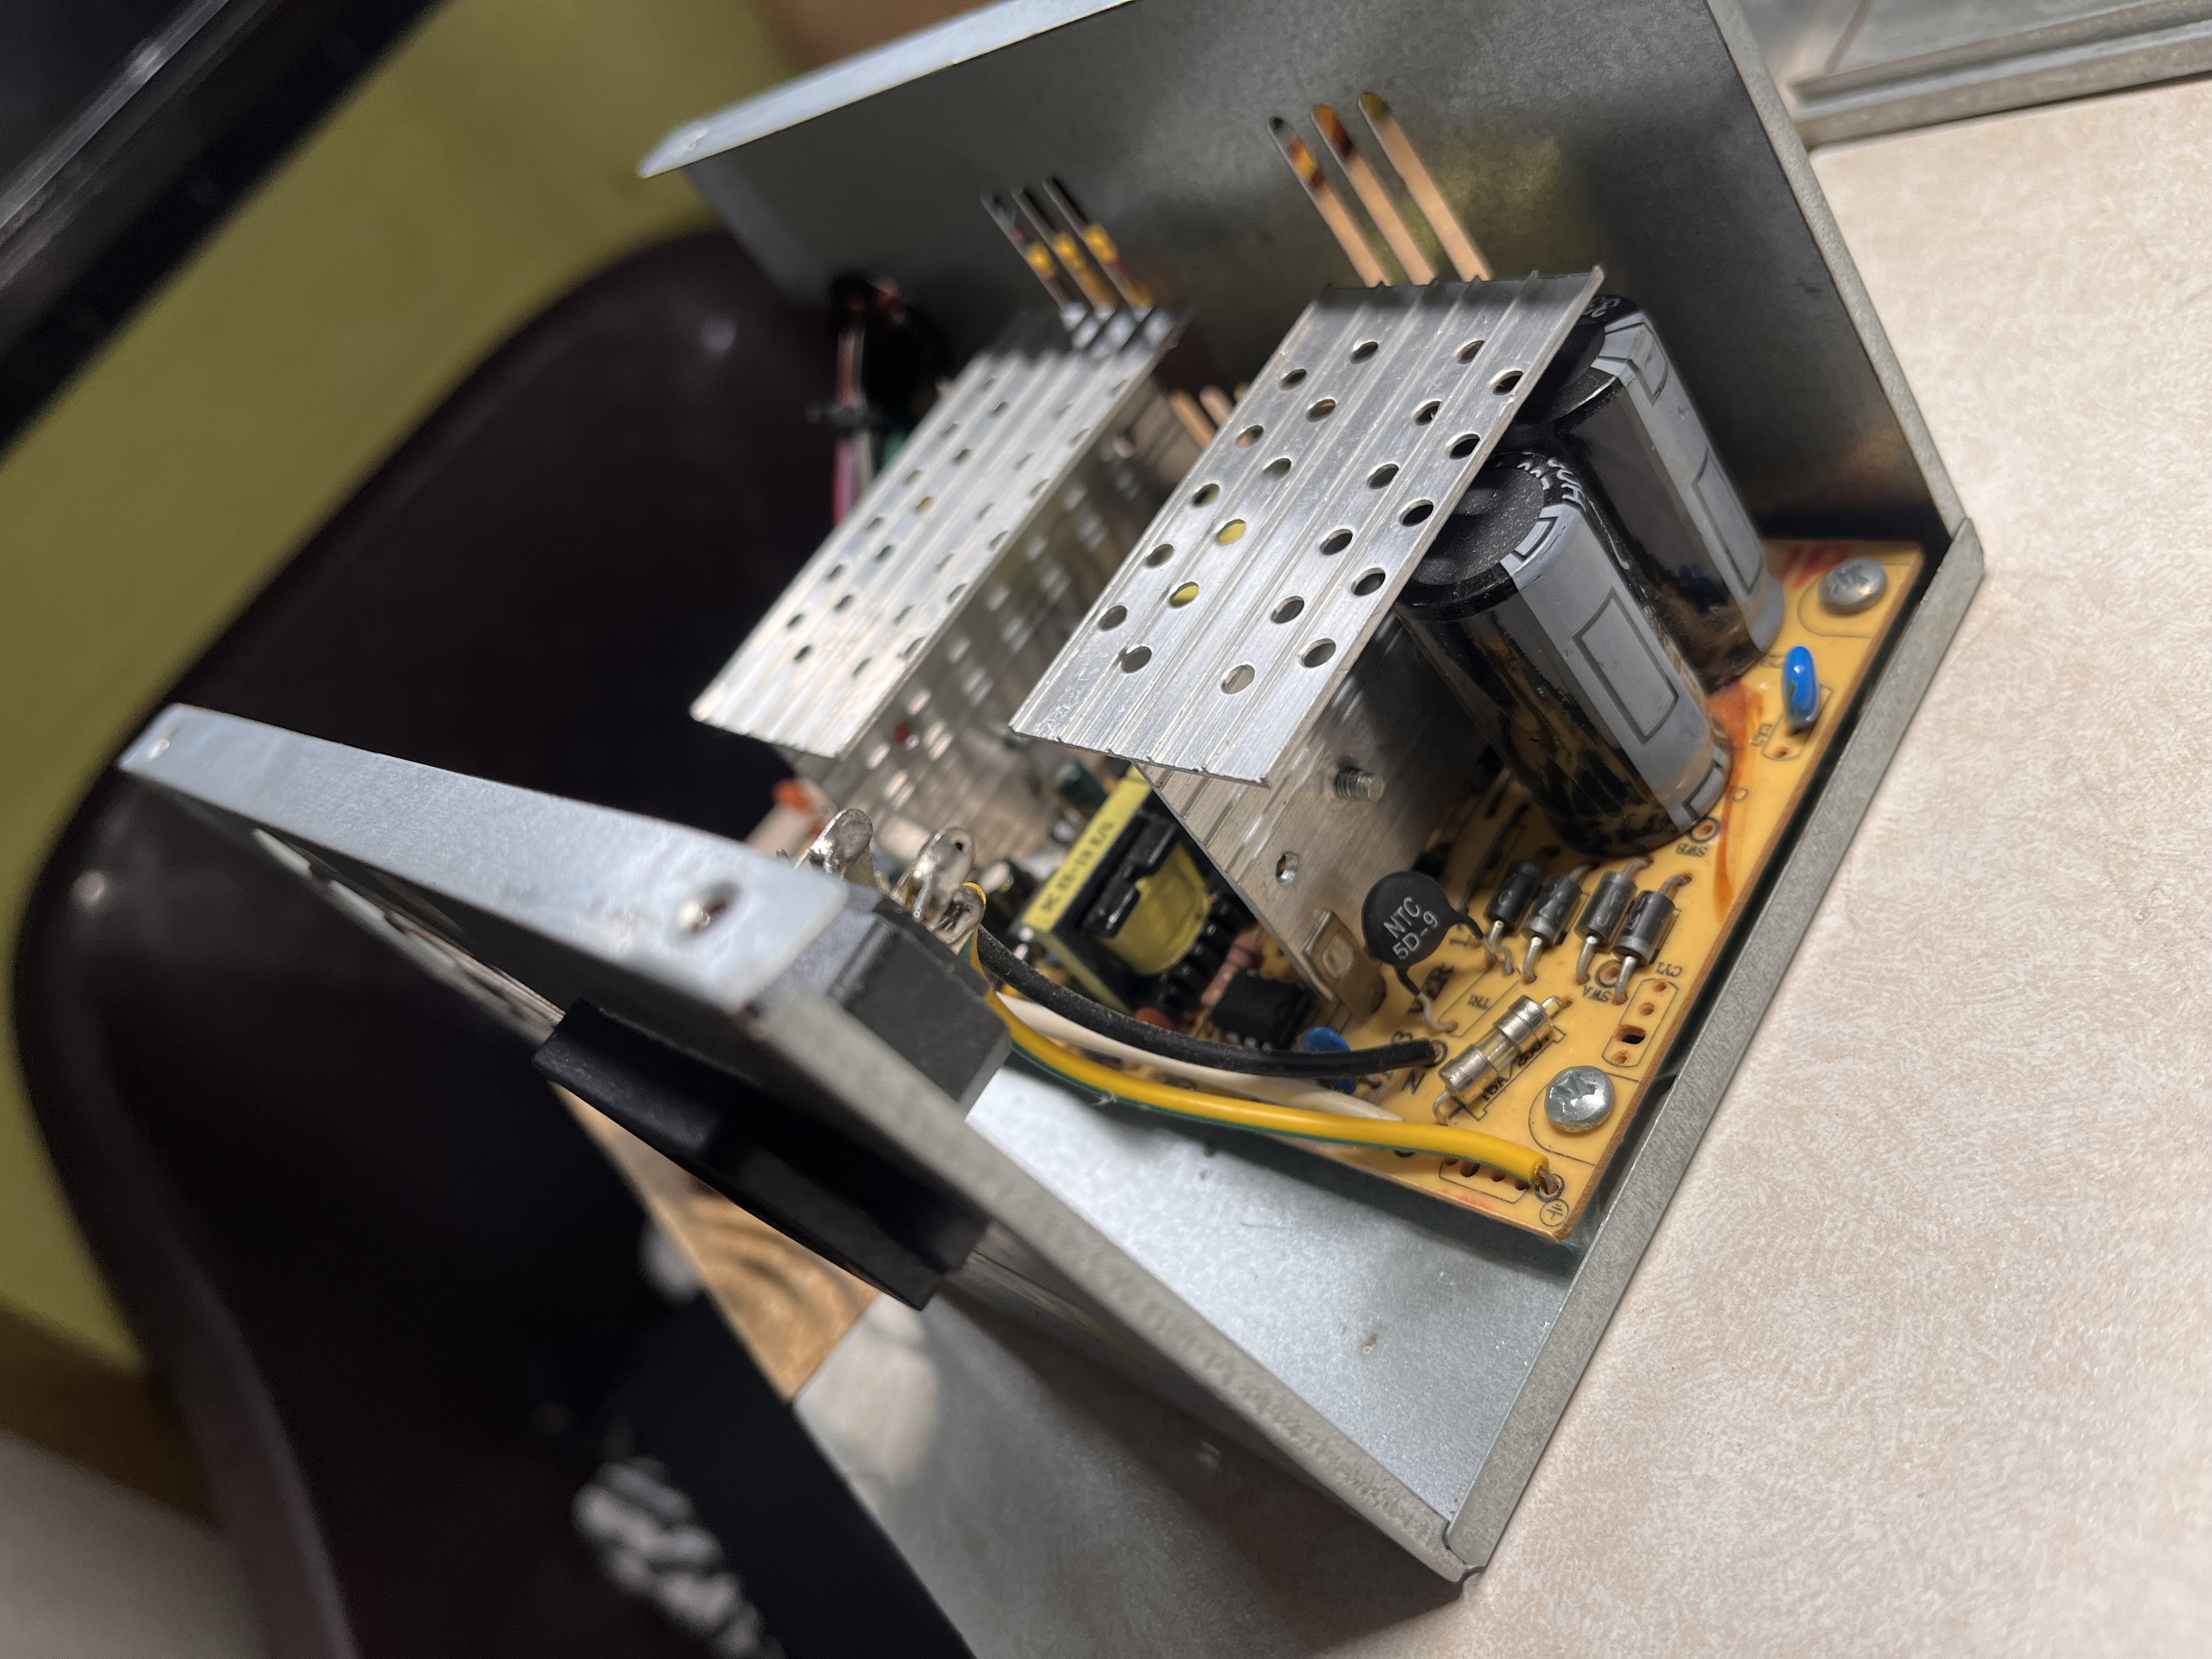
- Discharged power before handling
- Desoldered 450V capacitor and replaced with working one
- Insulated gloves + safety checks throughout
- Measured voltage rails with multimeter before connection
💻 Step 4: BIOS Reset & Flash
- Reset CMOS using jumper + battery method
- Flashed fresh BIOS from Gigabyte using @BIOS utility
🧰 Step 5: System Assembly
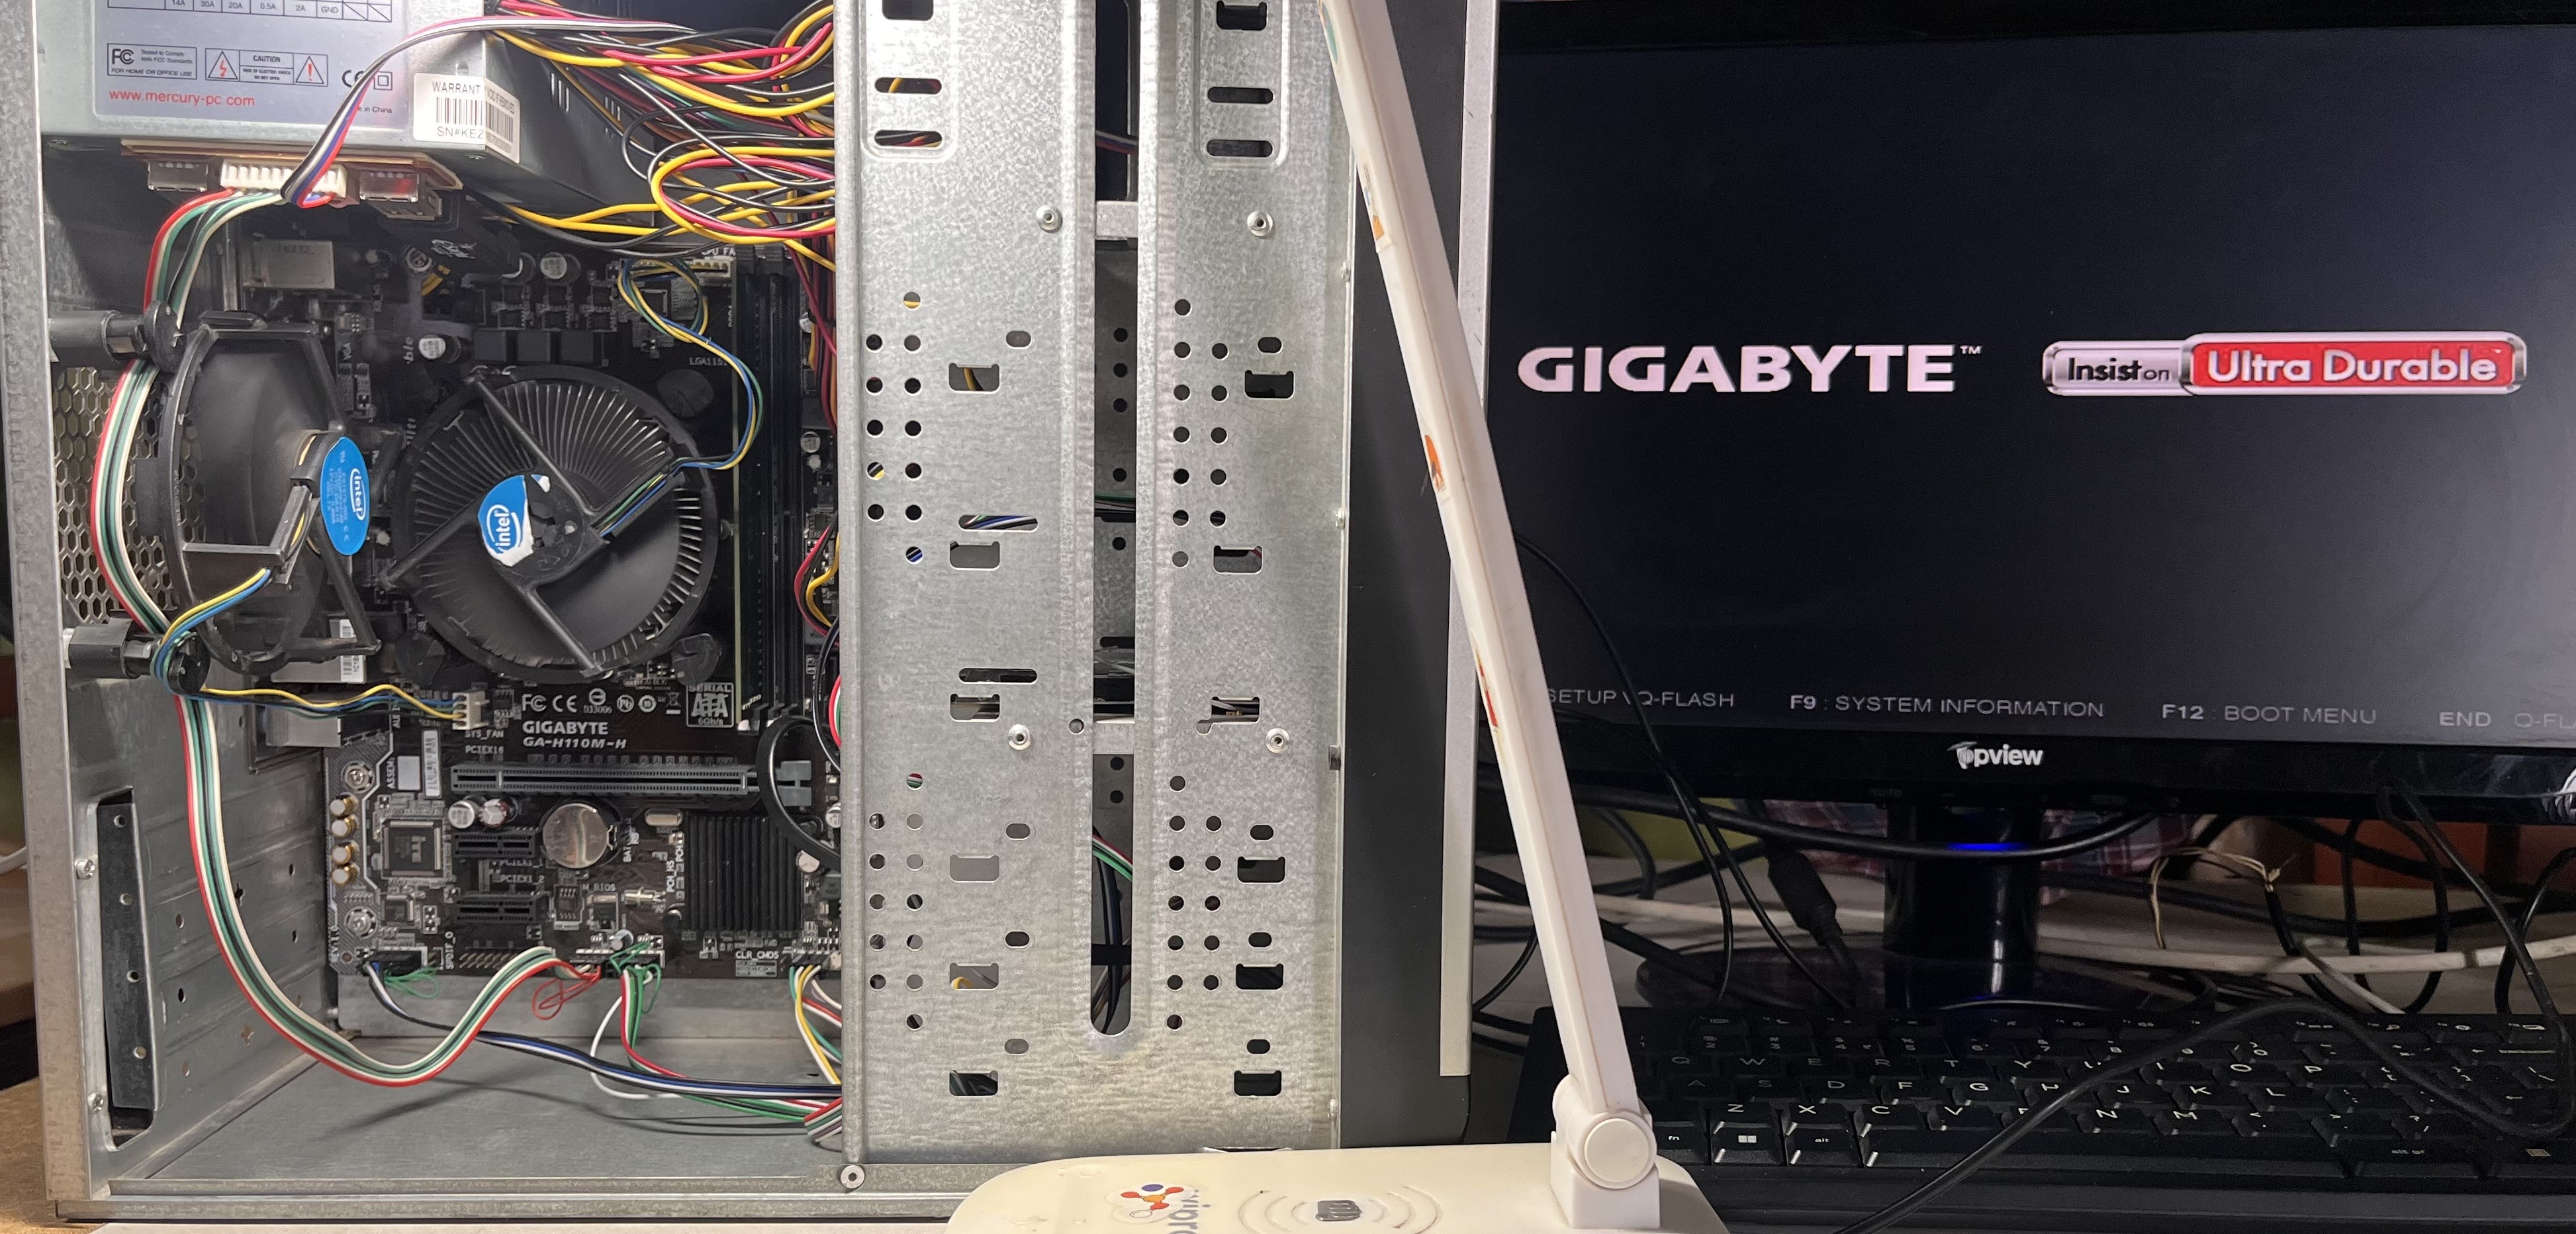
- Connected front panel headers (F-panel, USB, audio)
- Managed SATA, power, and internal cables for airflow
- Added external USB hub to replace broken USB ports
🖥️ Step 6: OS Installation
- Created bootable USB via Windows Media Creation Tool
- Installed Windows 10 cleanly
💾 Step 7: Data Recovery from Formatted Disk
Problem:
HDD showed no partitions, and was believed fully corrupted.
Tools:
What I Did:
- Scanned each cylinder with TestDisk to detect boot sectors or partition remnants
- Used PhotoRec to recover files at bit-level using signature scanning
- Successfully recovered 200GB of family photos and videos that were considered lost
🌐 Step 8: Server Setup (Made Simple)
- Installed Tailscale for secure mesh VPN access
- Enabled Windows Advanced Sharing
- Shared folders accessible from any device over internet with Tailscale
- No need for port forwarding or public IP
✅ Secure
✅ Easy
✅ Works globally
✅ Final Outcome
| Feature | Status |
|---|---|
| Bootable, stable PC | ✅ |
| Data Recovery (200GB+) | ✅ |
| Secure remote access | ✅ (via Tailscale) |
| Recycled PSU + Case | ✅ |
🔄 Next Steps
- Replace Windows with TrueNAS SCALE
- Run ZFS and experiment with Docker containers
- Setup remote backup, NAS automation, and home lab services
🧰 Tools Used
| Tool / Component | Purpose |
|---|---|
| TestDisk + PhotoRec | Partition + raw data recovery |
| Multimeter | Circuit testing + pin continuity |
| Soldering Iron (450V) | Capacitor replacement in PSU |
| Thermal Paste | CPU cooling |
| BIOS Flash Utility | Firmware reset |
| Tailscale | Global, private networking |
| Windows Boot Tool | USB OS installation |
👨💻 About the Builder
Hi! I’m a first-year CS student exploring hands-on hardware, open-source recovery tools, and home server automation.
This was a weekend project turned full-scale learning journey.
🤝 Contributions
Feel free to open an Issue or PR if you’d like to:
- Share build improvements
- Suggest alternate tools
- Add TrueNAS or Docker configuration once I post it
🧠 Key Takeaways
🔧 Fix broken things.
♻️ Use what you have.
🧠 Learn by doing.
📖 Then share it with the world.
📩 Need Help with Data Recovery?
If you’ve got a hard drive that isn’t physically broken but has lost partitions, shows as “unallocated,” or has accidentally deleted files — I can try to help you recover your data using open-source tools and safe methods.
👉 Reach out at: zanyanbuchelvan@gmail.com
License
Open-source under MIT. Share, remix, fork — and don’t forget to document your version!
#pcbuild #hardware #truNAS #recovery #opensource #tailscale #testdisk #scraptoproductive #learningbydoing